0%

双目摄像头标定、视差图与测距的实现--玩具级别

双目摄像头标定、视差图与测距

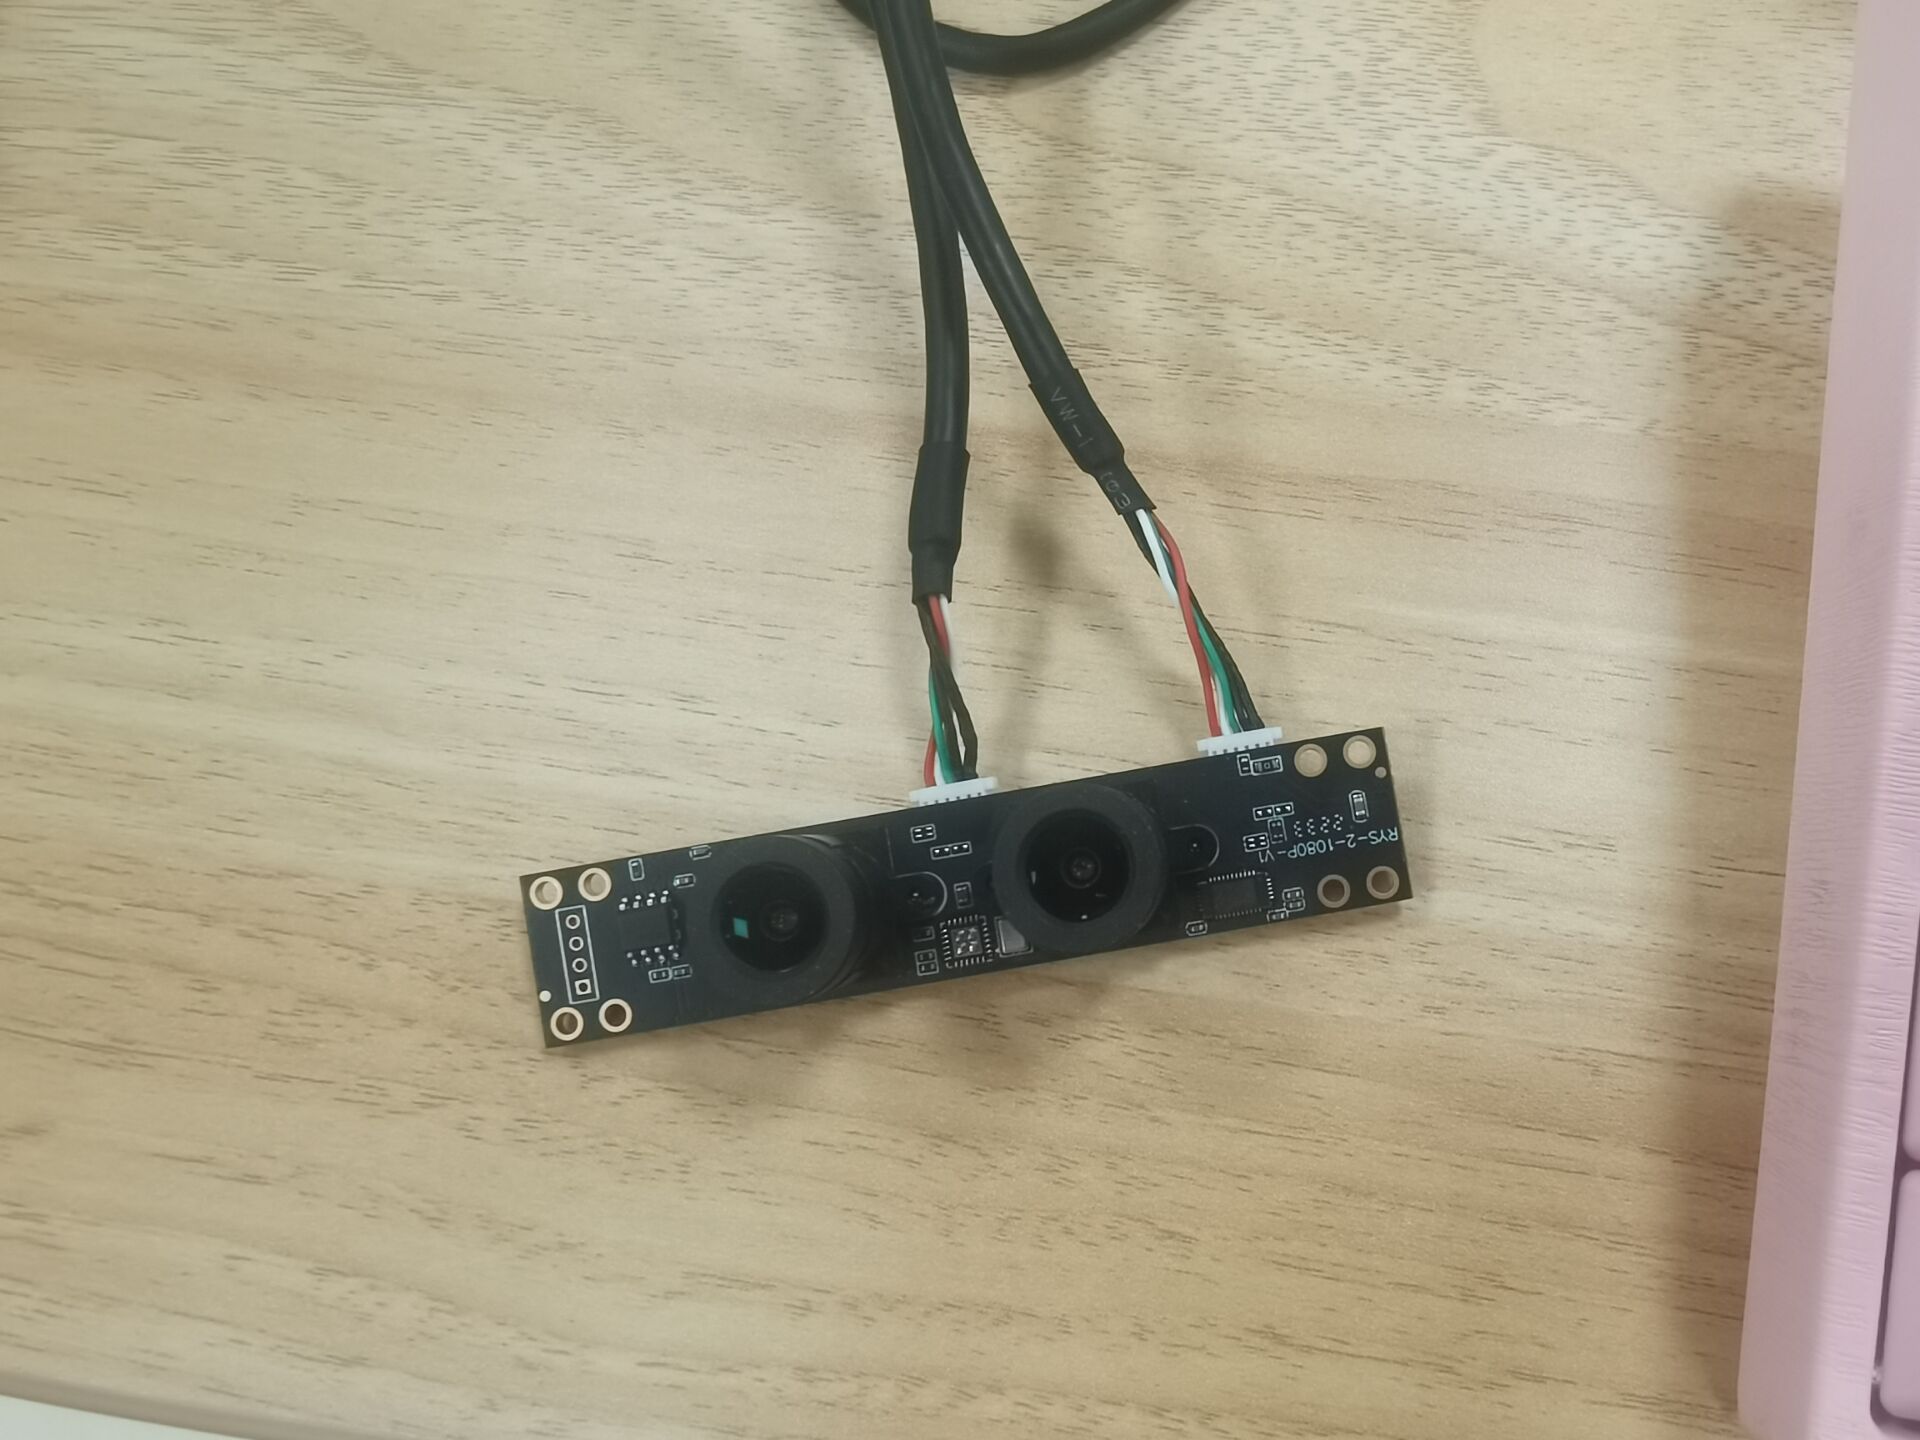
因为贫穷,所以从海鲜市场捡了俩双目摄像头来进行标定和重建。由于原理部分的笔记还在整理中,所以本篇主要是直接介绍应用,旨在快速完成标定和测距的任务。

廉价的相机...还是双帧不同步的,只能希望时差不要太大了捏。

相机标定

拍摄标定板

相机标定主要是用来标定相机内参矩阵的。我们使用张正友标定法。所以需要先拍摄一些标定图片。

由于可能会出现图像中虽然有标定板,但是在标定程序中不能正确检测出角点,所以我们直接在拍摄的时候就显示出检测的角点,这样能保证拍摄下来的图像肯定能用于标定。

1
2
3
4
5
6
7
8
9
10
11
12
13
14
15
16
17
18
19
20
21
22
23
24
25
26
27
28
29
30
31
32
33
34
35
36
37
38
39
40
41
42
43
44
45
46
47
48
49
50
51
52
53
54
55
56
57
58
59
60
61
62
63
64
65
66
67
68
69
70
71
72

# coding=utf-8
import cv2
import numpy as np
import os


def find_chessboard_corners(img):
h, w = img.shape[:2]
assert w == img.shape[1] and h == img.shape[0], ("size: %d x %d ... " % (
img.shape[1], img.shape[0]))
pattern_size = (9, 6)
found, corners = cv2.findChessboardCorners(img, pattern_size)
vis = None
if found:
term = (cv2.TERM_CRITERIA_EPS + cv2.TERM_CRITERIA_COUNT, 30, 0.1)
cv2.cornerSubPix(img, corners, (5, 5), (-1, -1), term)
vis = cv2.cvtColor(img, cv2.COLOR_GRAY2BGR)
cv2.drawChessboardCorners(vis, pattern_size, corners, found)

return found, vis


cap0 = cv2.VideoCapture(0)
cap1 = cv2.VideoCapture(1)
img_path = r"StereoCamera\data\\"
firstFrame = None
window_size = 0
i = 0
lst = open(r'StereoCamera\data\imglst.lst', 'w')

while 1:
ret, frame1 = cap0.read()
ret, frame2 = cap1.read()
frame1 = cv2.resize(frame1, (640, 480), interpolation=cv2.CV_8SC1)
frame2 = cv2.resize(frame2, (640, 480), interpolation=cv2.CV_8SC1)
frame = np.concatenate([frame1, frame2], axis=1)
cv2.imshow('img', frame)

frame_left = frame1
frame_right = frame2
found1, vis1 = find_chessboard_corners(
cv2.cvtColor(frame_left, cv2.COLOR_BGR2GRAY))
found2, vis2 = find_chessboard_corners(
cv2.cvtColor(frame_right, cv2.COLOR_BGR2GRAY))

if found1 and found2:
image = np.concatenate([vis1, vis2], axis=1)
image = np.concatenate([frame, image])
cv2.imshow('output', image)

key = cv2.waitKey(30)

if key == ord("s") and found1 and found2:

cv2.imwrite((f'{img_path}{i}left.jpg'), frame_left)
cv2.imwrite((f'{img_path}{i}right.jpg'), frame_right)

lst.write(f"{img_path}{i}left.jpg\n")
lst.write(f"{img_path}{i}right.jpg\n")
i = i + 1
if i > 20:
break

if key & 0xFF == ord('q'):
break

lst.close()
cap0.release()
cap1.release()
cv2.destroyAllWindows()

注意修改路径和你的标定板的角点数目哦!

当出现角点的时候,按下s就能截取了,会保存若干图像和一个路径文件,用于标定。

一般来说,我们需要拍摄20张左右的标定板,让标定板最好位于各个位置。

调用opencv samples中标定程序用于标定

在opencv的samples/cpp文件夹中,有一个现成的给图像进行标定的程序stereo_calib.cpp,我们先把它编译好(在编译它之前,你得先编译opencv这个库哦~)。

不妨假设你已经编译好这个程序了,下一步就是要制作一个xml文件,用于告诉他,哪些图像是用于标定的。

xml形式如下,我们把这个文件命名为stereo_calib.xml

1
2
3
4
5
6
7
8
9
10
11

<?xml version="1.0"?>
<opencv_storage>
<imagelist>
"data\0left.jpg"
"data\0right.jpg"
...
(这里放你的图像路径哦,一行一个,像上面那样)
</imagelist>
</opencv_storage>

然后在命令行中执行

1
2
3
4
5

// w h分别是角点的横向和纵向的数目,s是面积

stereo_calib.exe -w=9 -h=6 -s=1 stereo_calib.xml

然后就会生成两个文件intrinsics.ymlextrinsics.yml这就是标定后的参数矩阵哦。

视差图与测距

完成相机的标定后,我们使用BM算法进行立体匹配,然后根据空间坐标的公式完成测距。同样此处也不深入这些原理,而是给出应用。

我们首先把之前的intrinsics.ymlextrinsics.yml放在测距文件的同一目录下,这样你复制下来就不用修改路径了。

1
2
3
4
5
6
7
8
9
10
11
12
13
14
15
16
17
18
19
20
21
22
23
24
25
26
27
28
29
30
31
32
33
34
35
36
37
38
39
40
41
42
43
44
45
46
47
48
49
50
51
52
53
54
55
56
57
58
59
60
61
62
63
64
65
66
67
68
69
70
71
72
73
74
75
76
77
78
79
80
81
82
83
84
85
86
87
88
89
90
91
92

import cv2 as cv
import numpy as np
import time
import os

depthWinTitle = 'Depth'

cv.namedWindow(depthWinTitle)
cv.createTrackbar("num", depthWinTitle, 0, 10, lambda x: None)
cv.createTrackbar("blockSize", depthWinTitle, 5, 255, lambda x: None)
cv.namedWindow("3D Cam")
cv.moveWindow("3D Cam", 100, 50)
cv.moveWindow(depthWinTitle, 800, 50)


def callbackfunc(e, x, y, f, p):
if e == cv.EVENT_LBUTTONDOWN:
print(threeD[y][x])


cv.setMouseCallback(depthWinTitle, callbackfunc, None)

fs = cv.FileStorage(r'intrinsics.yml', cv.FILE_STORAGE_READ)
M1 = fs.getNode('M1').mat()
D1 = fs.getNode('D1').mat()
M2 = fs.getNode('M2').mat()
D2 = fs.getNode('D2').mat()

fs = cv.FileStorage(r'extrinsics.yml', cv.FILE_STORAGE_READ)
R = fs.getNode('R').mat()
T = fs.getNode('T').mat()
R1 = fs.getNode('R1').mat()
P1 = fs.getNode('P1').mat()
R2 = fs.getNode('R2').mat()
P2 = fs.getNode('P2').mat()
Q = fs.getNode('Q').mat()

cap0 = cv.VideoCapture(0)
cap1 = cv.VideoCapture(1)
size = (640, 480)
left_map1, left_map2 = cv.initUndistortRectifyMap(
M1, D1, R1, P1, size, cv.CV_16SC2)
right_map1, right_map2 = cv.initUndistortRectifyMap(
M2, D2, R2, P2, size, cv.CV_16SC2)

while True:
ret, frame1 = cap0.read()
ret, frame2 = cap1.read()
frame1 = cv.resize(frame1, (640, 480), interpolation=cv.CV_8SC1)
frame2 = cv.resize(frame2, (640, 480), interpolation=cv.CV_8SC1)
frame = np.concatenate([frame1, frame2], axis=1)
frame_left = frame1
frame_right = frame2

left_rectified = cv.remap(frame_left, left_map1,
left_map2, cv.INTER_LINEAR)
right_rectified = cv.remap(
frame_right, right_map1, right_map2, cv.INTER_LINEAR)
rectified = np.concatenate([left_rectified, right_rectified], axis=1)
image = np.concatenate([frame, rectified])

imgL = cv.cvtColor(left_rectified, cv.COLOR_BGR2GRAY)
imgR = cv.cvtColor(right_rectified, cv.COLOR_BGR2GRAY)

num = cv.getTrackbarPos("num", depthWinTitle)
blockSize = cv.getTrackbarPos("blockSize", depthWinTitle)
if blockSize % 2 == 0:
blockSize += 1
if blockSize < 5:
blockSize = 5

stereo = cv.StereoBM_create(numDisparities=16 * num, blockSize=blockSize)
#print(16 * num, blockSize)
disparity = stereo.compute(imgL, imgR)

disp = cv.normalize(disparity, disparity, alpha=0,
beta=255, norm_type=cv.NORM_MINMAX, dtype=cv.CV_8U)
threeD = cv.reprojectImageTo3D(disparity.astype(np.float32) / 16., Q)
for i in range(1, 30):
cv.line(image, (0, 16 * i), (640, 16 * i), (0, 255, 0), 1)

cv.imshow('3D Cam', image)
cv.imshow(depthWinTitle, disp)

if cv.waitKey(1) & 0xFF == ord('q'):
break

cap0.release()
cap1.release()
cv.destroyAllWindows()

执行这个文件,就会自动采集图像进行匹配,最后计算出深度。

用鼠标在视差图上点一下就会显示出深度信息了哦。

作为一个双帧不同步的摄像头,这个视差图的效果感觉已经可以了,准确率还算可以,能跟5块钱的超声波测距打的有来有回,符合了一个玩具的身份...

当然,感觉标定板用的比较小,导致标定的误差还是比较大,还有一定的优化空间。

有钱了一定要上好一点的相机!

这篇博客代表三维视觉部分正式开坑了啦,考虑到这部分代码写的比较乱,打算后面在具体阐述原理的时候把他们好好地整理成一个方便可用的库。